Trigger Your n8n Workflow with a No-Code Camera Scanner in 5 Minutes

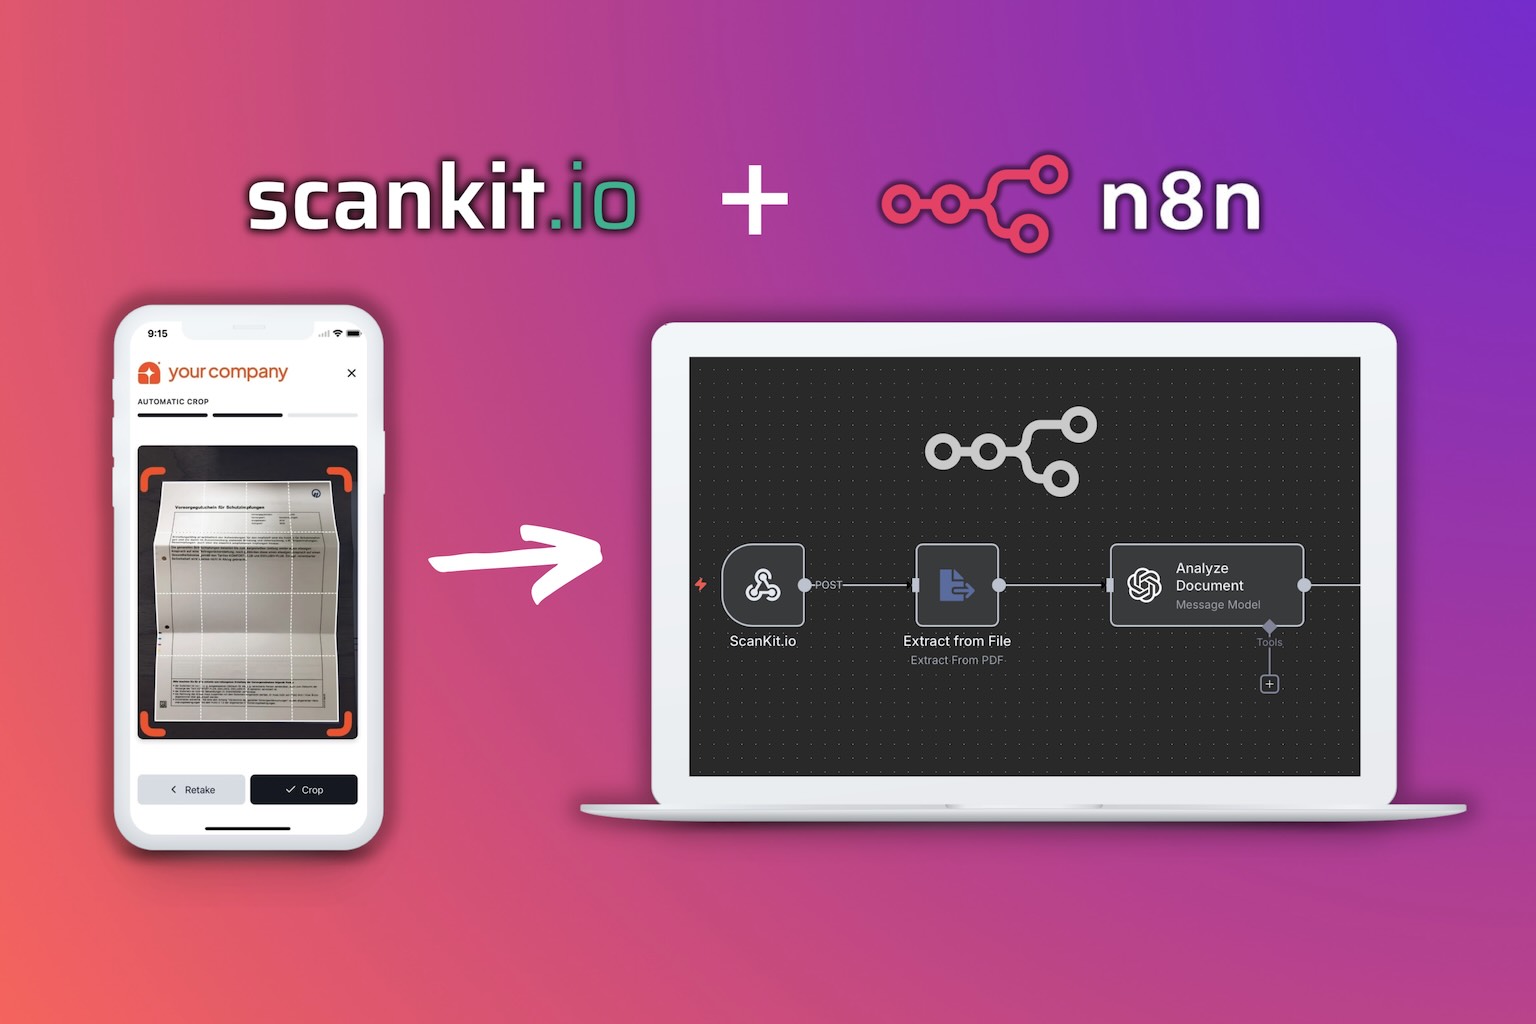
Most n8n workflows start from a file that’s already been uploaded somewhere — a form, an email, or a shared drive. But what if your workflow could start the moment a document is scanned — directly from a phone camera, no app installation required?
That’s exactly what ScanKit’s Instant Scanners make possible.
In a few minutes, you’ll connect a simple web-based scanner to your n8n workflow so that every scan automatically triggers your automation — from any mobile browser.
What You’ll Build
You’ll create a camera scanner that:
- Works directly in a smartphone browser (no app needed)
- Scans and crops documents automatically
- Sends results straight into an n8n workflow
- Can be opened via link or QR code
By the end, you’ll have a working, shareable scanner that starts your n8n process with a single photo.
Prerequisites
- A ScanKit.io account (free tier works fine)
- An n8n instance (cloud or self-hosted)
- About 5 minutes of setup time
Step 1 — Create Your Instant Scanner
Go to your ScanKit Dashboard and open Instant Scanners.
- Click Create New Scanner and name it
n8n Scanner - (Optional) Add a description like “Scans documents directly into n8n”
- Pick a brand color and upload your logo if you like
- Leave the Webhook URL field empty for now — we’ll come back to it
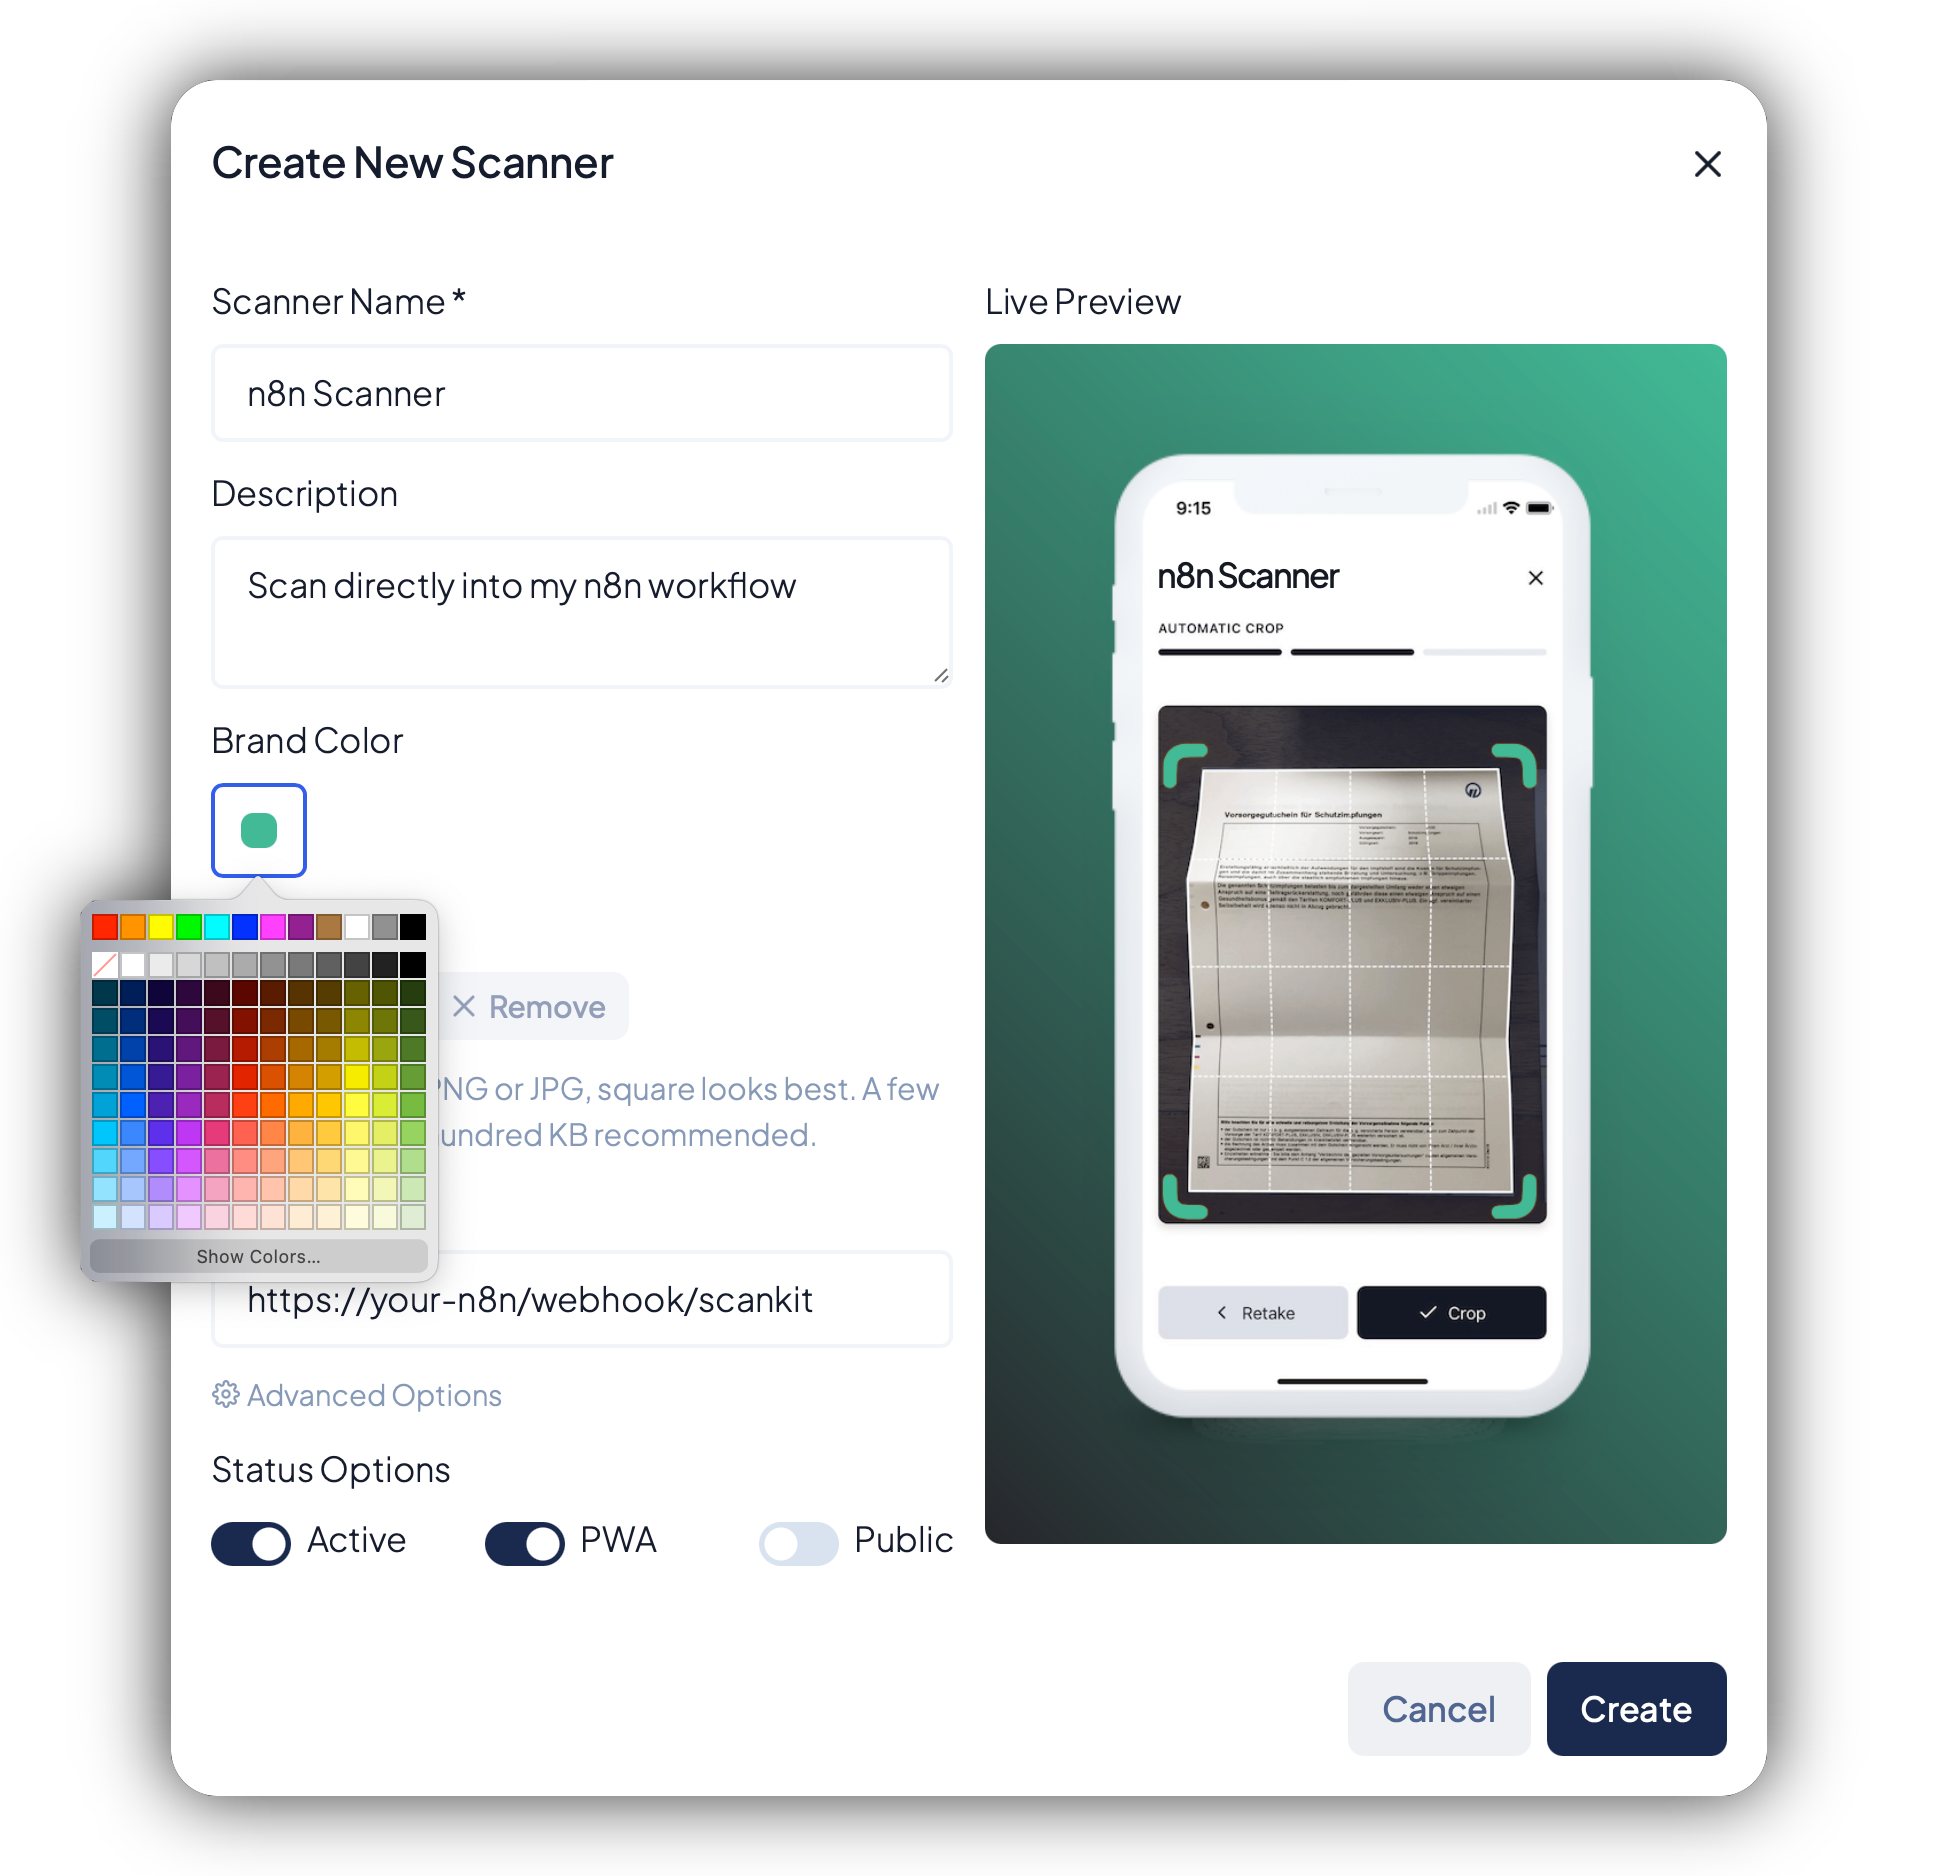
Your scanner preview will update as you type. When you’re ready, click Create.
💡 Pro tip: If you already have an n8n webhook URL ready, you can start there and paste it directly while creating the scanner. The order doesn’t matter — both paths work.
Step 2 — Create and Configure the Webhook in n8n
Open your n8n dashboard and create a new workflow.
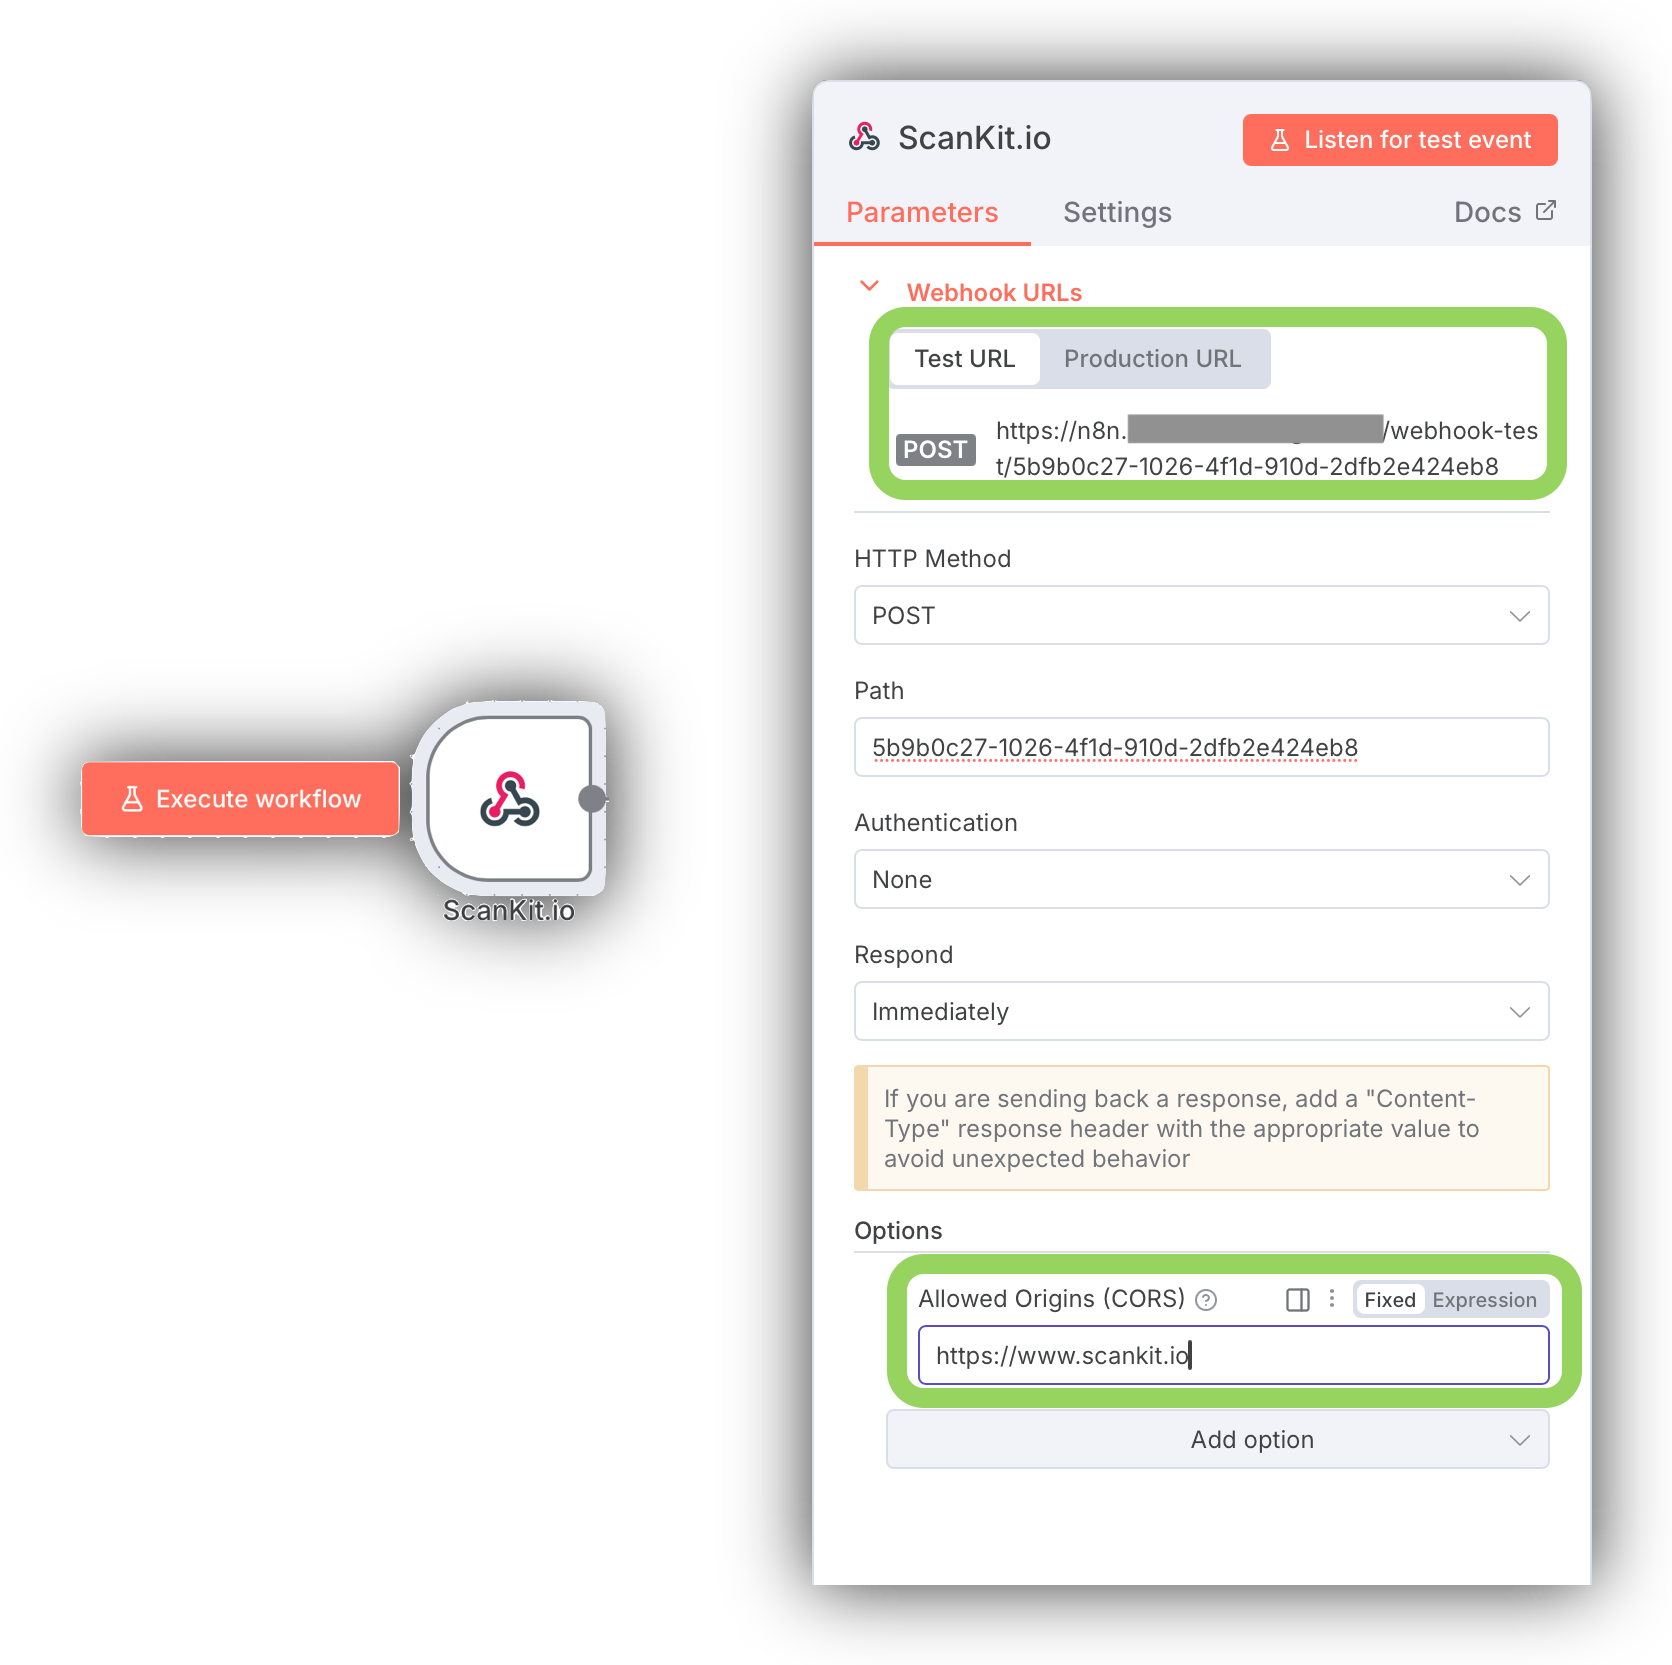
- Add a Webhook node and configure it:
- Method: POST
- Path: something simple, e.g.
scankit-upload - Response Mode: Respond immediately
- In the same node, add this domain under Allowed Origins (CORS):
This allows your workflow to safely receive document uploads from your hosted scanner.https://www.scankit.io - Save and activate your workflow.
- Copy the Test or Production Webhook URL — you’ll use it in the next step.
Step 3 — Connect the Webhook to Your Scanner
Back in your ScanKit Dashboard:
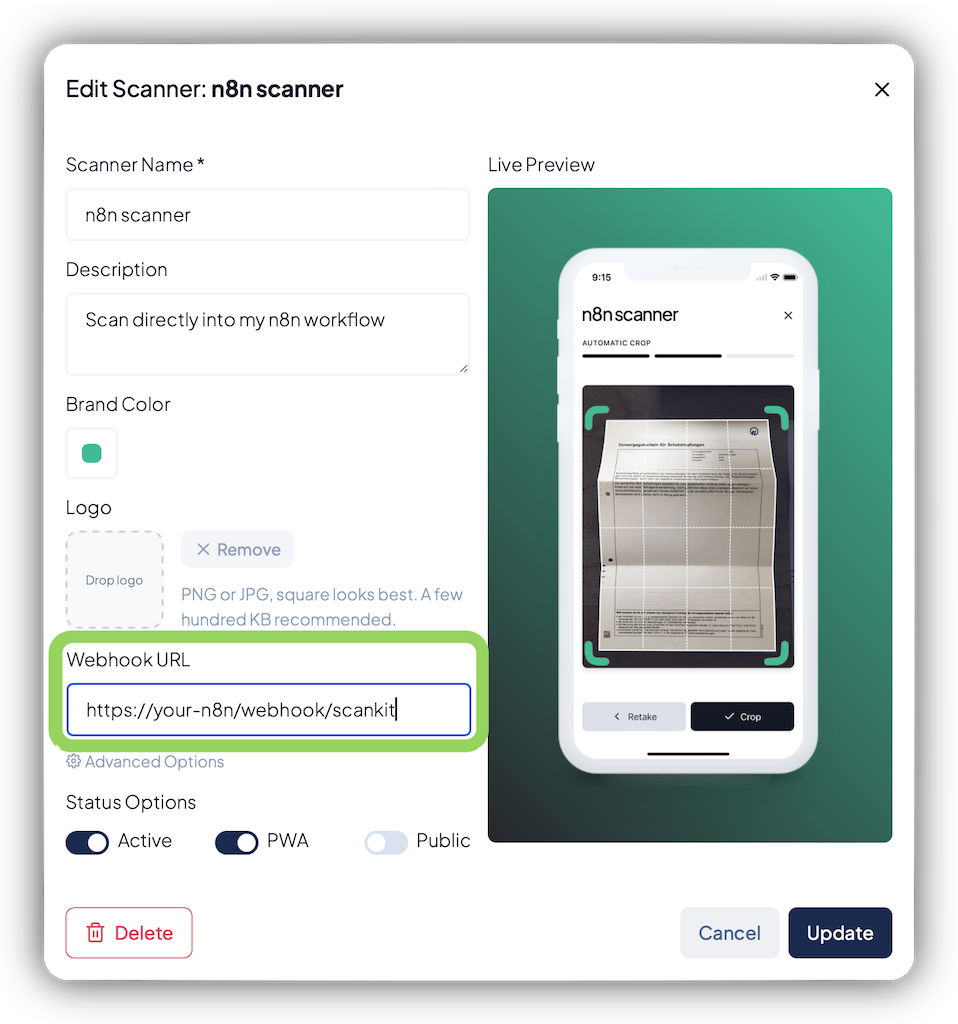
- Open your newly created scanner
- In the Webhook URL field, paste the n8n webhook URL
- Click Update
Your scanner is now linked to your workflow.
Step 4 — Test the Scanner
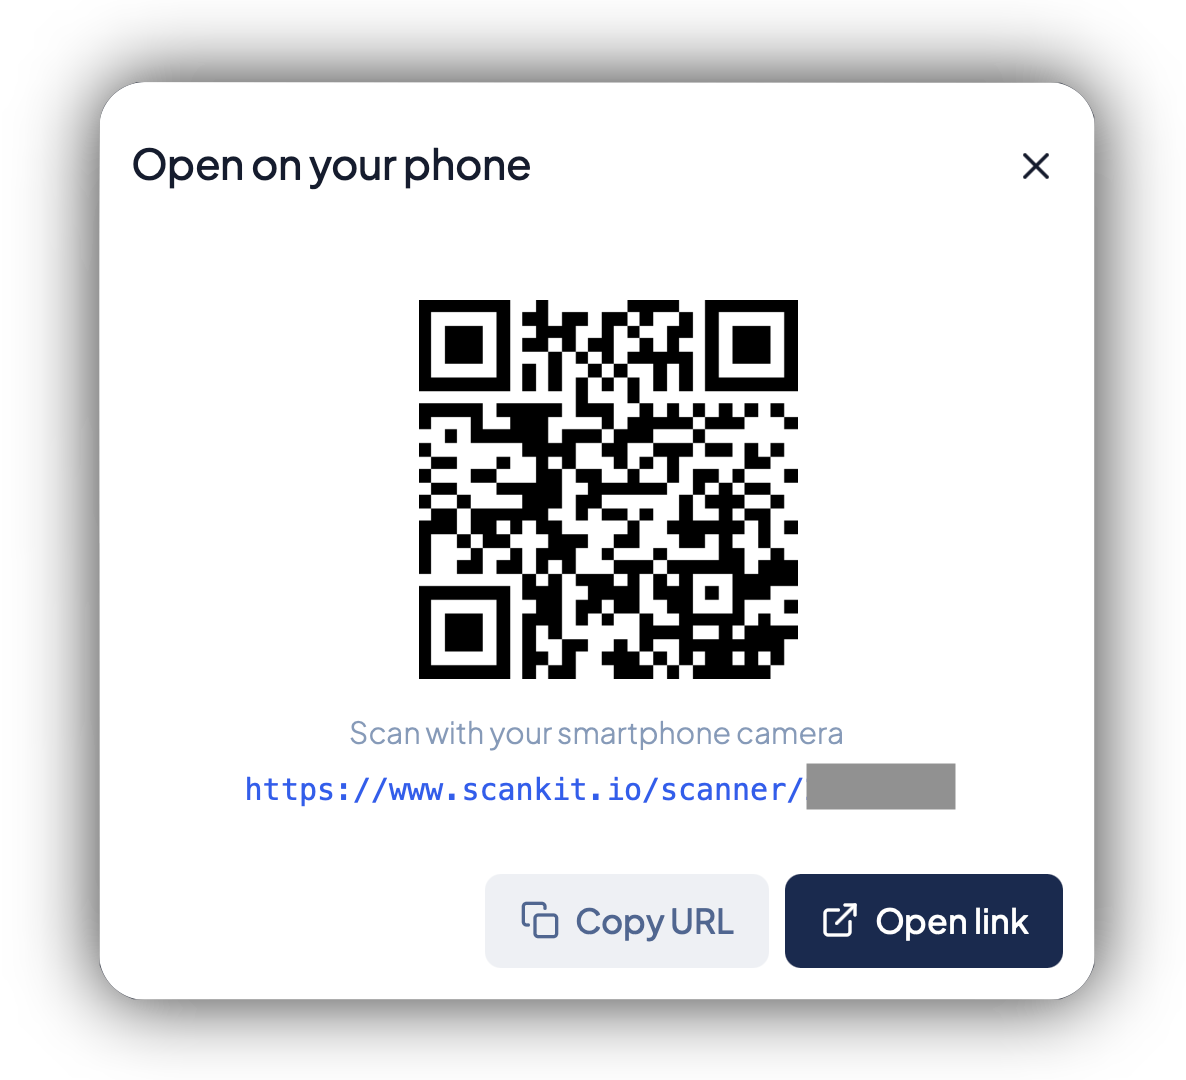
- Click Share Scanner to open it on your phone or copy its QR code
- Use your phone’s camera to scan a document
- The scanner automatically crops and sends it to n8n
Within seconds, you’ll see the Webhook node trigger — confirming that everything works.
What You Can Build
Once connected, every scan from your scanner sends a PDF with an embedded OCR text layer directly to n8n. You can use n8n’s built-in Extract from File node to read the text from the PDF and process it further — no extra OCR step required.
Here are some examples:
- Invoices: Scan → Extract text → Categorize or upload to accounting system
- Receipts: Scan → Parse totals → Append to Google Sheets
- Contracts: Scan → Let an LLM summarize or classify content → Store in Drive
- Forms: Scan → Extract fields → Add to CRM or database
This turns document scanning into a fully text-aware entry point for your workflows.
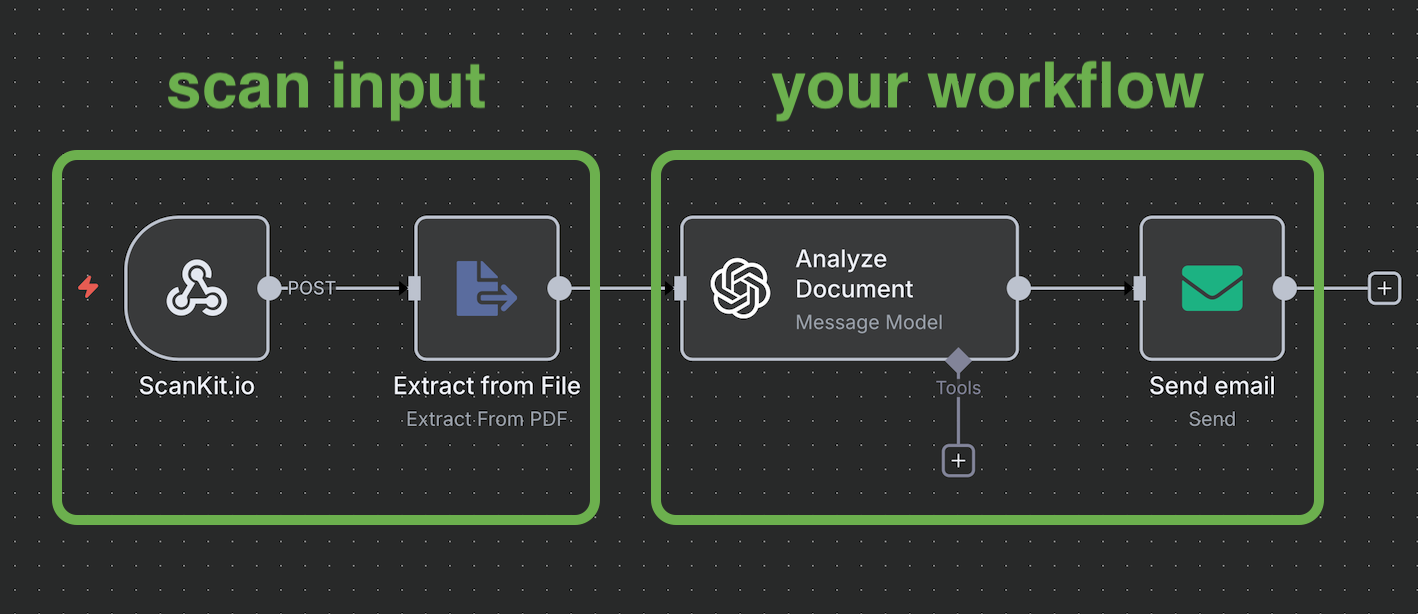
Every scan flows in here — what happens next is yours to create.
Example — From Receipt to Google Sheets
A simple workflow might look like this:
- Webhook — Receives the scanned PDF from ScanKit
- Extract from File — Extracts OCR text automatically
- Code or AI Node — Parses date, amount, or vendor name
- Google Sheets — Adds a new row with extracted data
That’s a complete, end-to-end automation — powered by one scanner link.
Wrapping Up
You’ve just connected ScanKit and n8n to create a fully no-code document intake flow.
Every scan now starts an automation — from a link or QR code, on any device.
Try it yourself: Create your free Instant Scanner →
Ready to get started with ScanKit?
Start building powerful document scanning features into your applications today.