Connect a Hosted ScanKit Scanner to Hermes Agent

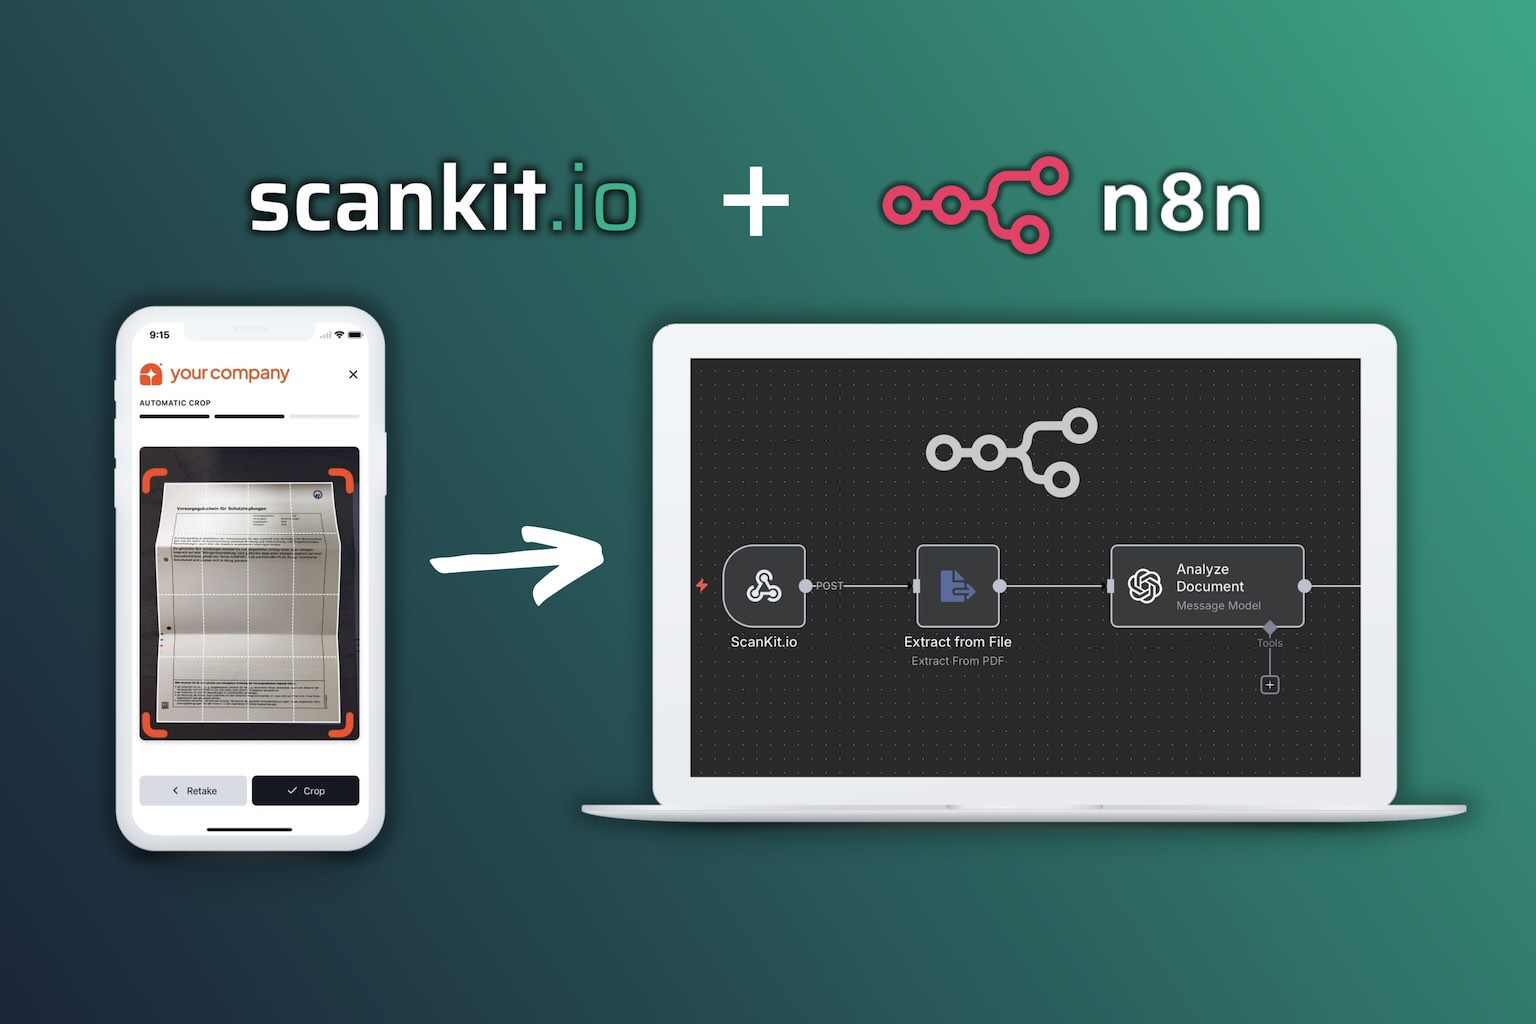
Document workflows usually start with a file that has already landed somewhere: an email, a form, or a shared drive. This post shows a different pattern: the workflow starts the moment someone photographs a document, directly from a phone browser, no app install required.
You will connect a ScanKit hosted scanner to Hermes Agent so every scan automatically triggers an agent run that processes the document.
What you will build
A camera scanner that:
- Works directly in a smartphone browser (no app needed)
- Detects, crops, and cleans the document automatically
- Sends the finished scan (PDF with embedded OCR text layer) to a webhook
- Starts a Hermes Agent run that downloads and processes the file
By the end you will have a working intake flow: photo in, processed result out of your agent pipeline.
How the pieces fit together
Phone camera → ScanKit hosted scanner → webhook → Hermes Agent → your processing
The scanner handles the messy part (perspective correction, cropping, cleanup, PDF generation). Hermes Agent handles the smart part (reading the document, extracting fields, triggering follow-up actions).
Prerequisites
- A ScanKit.io account (free tier works)
- A Hermes Agent installation (any machine reachable from the internet, or a tunnel)
- About 10 minutes
Step 1: Create your hosted scanner
Go to the ScanKit Dashboard and open Instant Scanners.
- Click Create New Scanner and name it, e.g.
Document Intake - Pick a brand color and upload a logo if you like
- Leave the Webhook URL field empty for now
- Click Create
Your scanner gets a shareable link and a QR code. Open it once on your phone to confirm the capture flow works. It scans, crops, and cleans documents, then offers the result as a PDF with an embedded OCR text layer.
Step 2: Create a webhook endpoint in Hermes Agent
Hermes Agent can receive inbound webhooks natively. The endpoint is a subscription under the webhook platform.
- Make sure the webhook platform is enabled in
~/.hermes/config.yaml:
platforms:
  webhook:
    enabled: true
    extra:
      host: "127.0.0.1"
      port: 8644
      secret: "<your-hmac-secret>"
- Subscribe a route for scanner uploads:
hermes webhook subscribe scan-intake \
  --prompt "A scan from scanner {scanner_name} just arrived. Open the uploaded file, extract the text, and summarize it." \
  --skills "ocr-and-documents" \
  --deliver log
- Verify the route responds:
curl http://127.0.0.1:8644/health
# {"status":"ok"}
The subscription validates requests with an HMAC signature. Because ScanKit's hosted scanner can only send a URL (no custom header field), use the URL-as-secret pattern: subscribe with --secret INSECURE_NO_AUTH and give the route an unguessable name. The full URL then IS the credential, so keep it private.
Step 3: Make the endpoint reachable
If your Hermes Agent runs on a machine behind NAT, expose the loopback endpoint with a tunnel:
cloudflared tunnel --url http://127.0.0.1:8644
The log prints a public URL like https://<random>.trycloudflare.com. Verify it:
curl https://<random>.trycloudflare.com/health
# {"status":"ok"}
For production use a named tunnel or a fixed hostname, because quick-tunnel URLs change on every restart.
Step 4: Connect the scanner to the webhook
Back in the ScanKit Dashboard:
- Open your scanner
- Paste the full public webhook URL (including
/webhooks/<route>) into the Webhook URL field - Click Update
Your scanner is now linked to the agent endpoint.
What the webhook receives
When a scan completes, the hosted scanner POSTs the result to your webhook URL as multipart/form-data with two parts:
| Part | Content |
|---|---|
file | The scan as PDF (with embedded OCR text layer) or JPEG |
metadata | A JSON blob with scanner_id, scanner_name, page_count, timestamp |
Example metadata:
{
  "scanner_id": 123,
  "scanner_name": "Document Intake",
  "page_count": 1,
  "timestamp": "2026-09-01T00:00:00.000Z"
}
In Hermes, the prompt placeholders resolve from the JSON top level. {scanner_name} and {page_count} therefore work directly in your subscription prompt. {__raw__} dumps the entire payload, and the file itself is saved to the inbox by the adapter, so your agent run can open it with the file tools.
If you are not using a ScanKit scanner and instead POST to the same route yourself, the same shape applies: a file part plus a metadata JSON part.
Minimal handler example
A subscription prompt that reads the scan and files it:
hermes webhook subscribe scan-intake \
  --prompt "A document scan from scanner {scanner_name} ({page_count} page(s)) just arrived. \
Open the uploaded file, extract its text, save a summary next to it, and reply with a one-line confirmation." \
  --skills "ocr-and-documents" \
  --deliver log
The webhook agent automatically gets the file path and the metadata; it does not need to parse the multipart body itself.
What you can build on top
Once the scan lands in your agent pipeline, the pattern is the same as with any webhook-triggered automation:
- Invoices: extract vendor, amount, and date, then push to accounting
- Delivery notes: read the PDF, match the order, notify the recipient
- Forms: pull the fields into a CRM or database
- Contracts: classify and summarize, then file into a document store
The hosted scanner removes the capture friction; the agent does the rest. No app store, no plugins, no OCR glue code.
A note on document data
Scans are sensitive. The ScanKit pipeline processes the image and returns a clean scan; the document does not have to leave the EU for processing. Your webhook should be HTTPS, and the unguessable URL pattern means the endpoint itself is the secret. Rotate it if it leaks.
The takeaway: a phone photo becomes a processed workflow input in seconds, with no app and no infrastructure beyond one webhook subscription. Try it with a free ScanKit account.
Ready to get started with ScanKit?
Start building powerful document scanning features into your applications today.